
Create a custom role
In addition to the default roles of Viewer, Operator, and Administrator, you can create custom roles with the permissions and access levels you want.
Step 1: Create a custom role
- In Formant, in the upper-left corner, open the menu and click Settings.
- Click Roles, and then in the upper-right corner, click Create Role.
- Give your new role a name and click Continue.
Step 2: Configure your role
Next, configure your role's permissions:
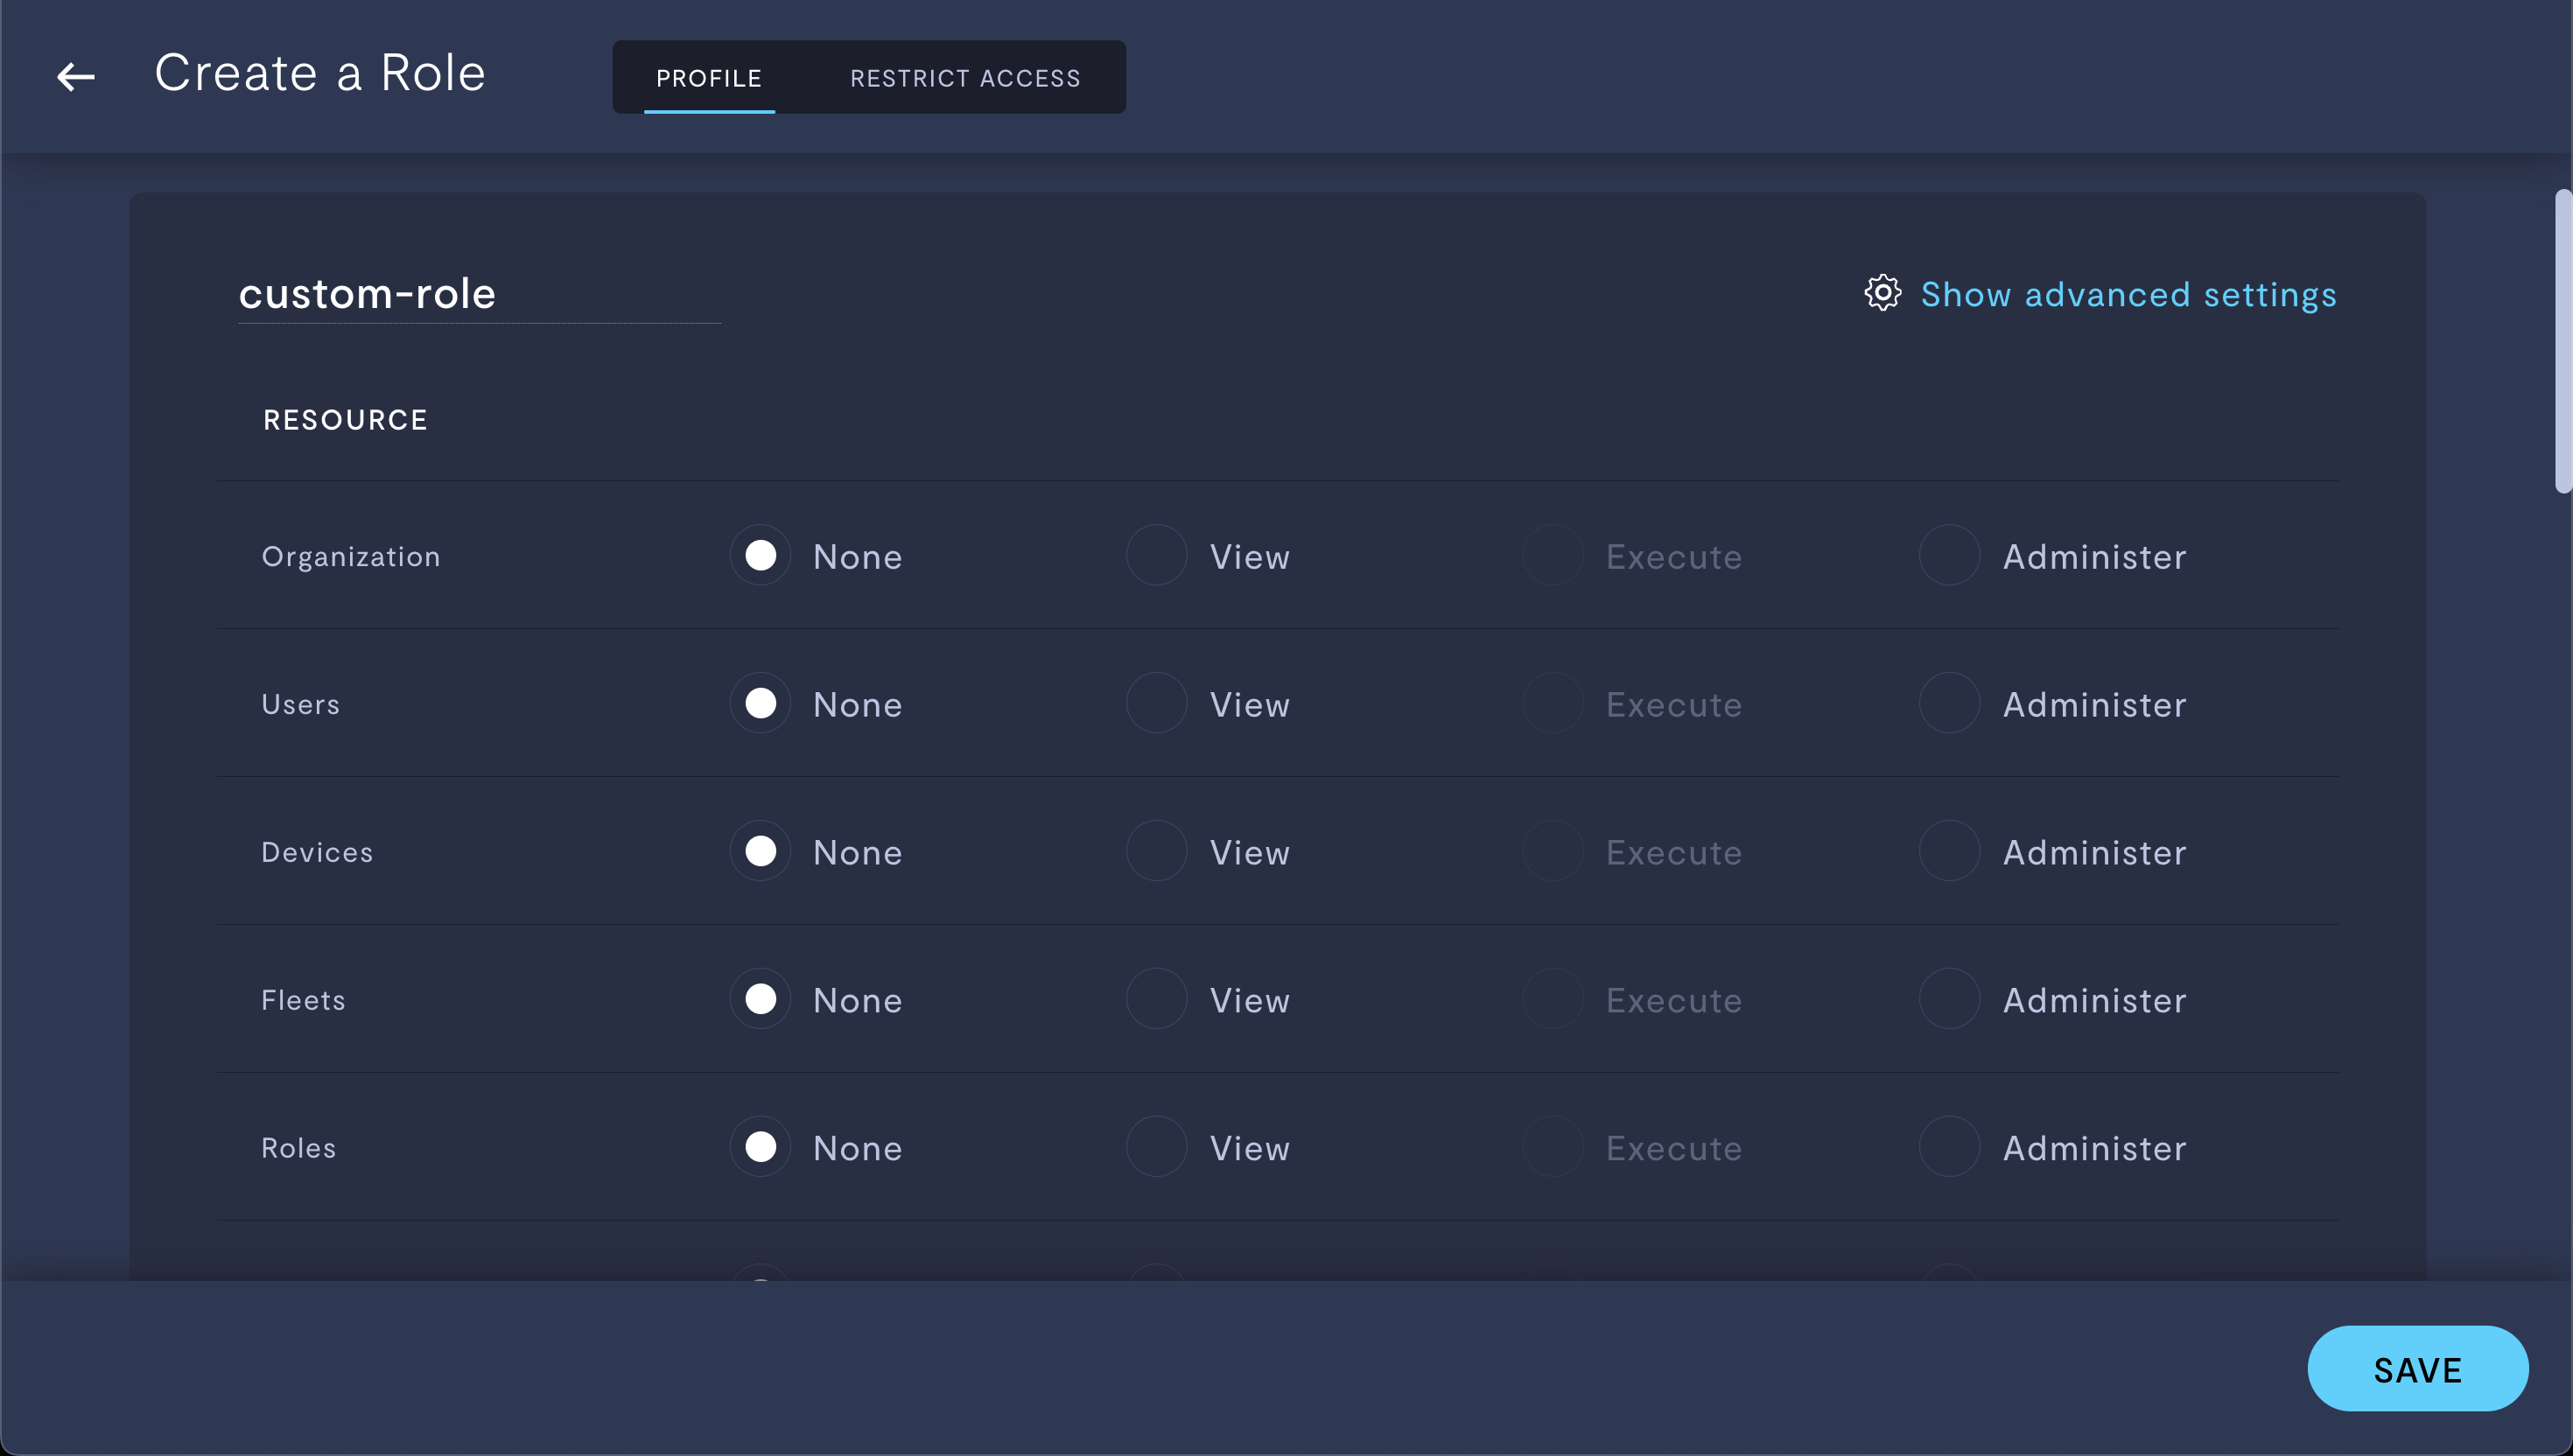
Configuring a custom role.
The following table defines the role's permissions for each permission level:
| Resource | None | View | Execute | Administer |
|---|---|---|---|---|
| Organization | No access to this resource. | View | N/A | - View - Create - Edit - Delete |
| Users | No access to this resource. | View | N/A | - View - Create - Edit - Delete |
| Devices | No access to this resource. | View | N/A | - View - Create - Edit - Delete |
| Fleets | No access to this resource. | View | N/A | - View - Create - Edit - Delete |
| Roles | No access to this resource. | View | N/A | - View - Create - Edit - Delete |
| Streams | No access to this resource. | View | N/A | - View - Create - Edit - Delete |
| Views | No access to this resource. | View | N/A | - View - Create - Edit - Delete |
| Channels | No access to this resource. | View | N/A | - View - Create - Edit - Delete |
| Comments | No access to this resource. | View | - View - Create - Edit | - View - Create - Edit - Delete |
| Teleop | No access to this resource. | N/A | - View - Teleoperate device | - View - Create - Edit - Delete - Teleoperate device |
| Terminal | No access to this resource. | N/A | Operate device terminal | Enable/disable terminal access |
| Port Forwarding | No access to this resource. | N/A | Start port forwarding session | Enable/disable port forwarding |
| Events | No access to this resource. | View | - View - Mark event as read | - View - Create - Edit - Delete - Mark event as read |
| Commands | No access to this resource. | View | - View - Run command | - View - Create - Edit - Delete - Run command |
| Annotations | No access to this resource. | View | - View - Create annotation | - View - Create - Edit - Delete |
| Capture | No access to this resource. | N/A | - Create capture link | - Create capture link |
| Share | No access to this resource. | N/A | - Create share link | - Create share link |
| File Storage | No access to this resource. | N/A | ||
| Integrations | No access to this resource. | View | - View - Create - Edit - Delete | |
| Interventions | No access to this resource. | N/A | - View - Create - Edit - Delete | |
| Key Value Storage | No access to this resource. | |||
| Schedules | No access to this resource. | View | N/A | - View - Create - Edit - Delete |
| Kiosk | No access to this resource. | N/A | ||
| Task Summaries | No access to this resource. | N/A |
When you have your desired set of permissions, continue to Step 3.
Step 3: Configure access levels
You can restrict the entities to which this role, and therefore any user with this role, has access. To do so, click the Restrict Access tab. Assign a set of tags which restricts this role's access to your desired level.
For more information, see Configure access levels.
A role with no tags associated will have unrestricted access to resources within your organization to which it has View access. The permissions will still be set by what you configured in Step 2.
If you notice an issue with this page or need help, please reach out to us! Use the 'Did this page help you?' buttons below, or get in contact with our Customer Success team via the Intercom messenger in the bottom-right corner of this page, or at [email protected].
Updated 3 months ago